Tuesday, June 26, 2012

"Max" (Goofy's son)

After a few weeks off here's the next piece ready to go home.
"Max" is Goofy's son.
I settled on the animated "Max" in lieu of the live "Max." I started out with the hair style of the live "Max" but, as you'll see, that just didn't work.
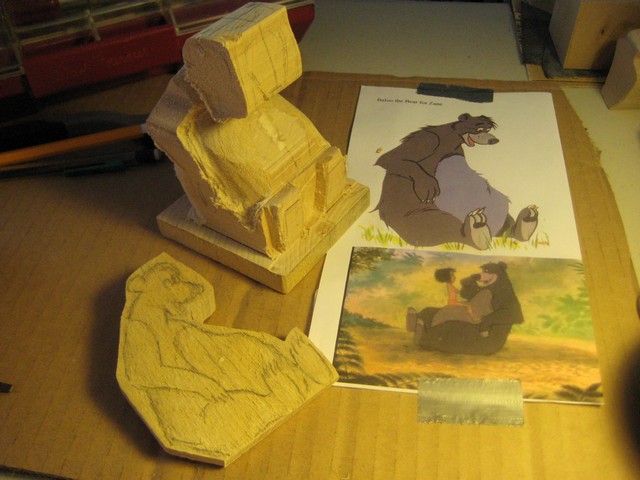
First, a little time on the band saw.
Now we can get down to business.

"Max'" pose made for good access for his extremities and features.
But, the hair just doesn't do it for me.
Like many carvers out there, I'm sure that as you work a piece you're open to making changes to the piece. Sometimes it becomes a necessity.
Well, that "chunk" of wood on "Max'" hair did it for me.
Off with his hair!
I need a way to "imbed" his new hair...
Above you see the "surgery" and his "replacement" hair.
What kid wouldn't want this "Mohawk?"
 and voila....
Much better!

Now for some color.

OK "Max," time to go to your new home!


Monday, May 21, 2012

"Strong Bad"

Hey, if you don't know him, neither did I! One of my friends at work found out I was carving characters for some of the people at work. He asked if I'd carve him this Internet character he likes called, "Strong Bad."
After a brief lesson on this guy, I kind of liked this little "irreverent" guy and so my next project commenced.
"Strong Bad" it turns out is extremely popular. http://www.homestarrunner.com/yearbooksb.html
It turns out, the simplistic position I selected for the project allowed me to basically "cope" him out quite a bit before I had to take the Dremel to him.
First, we "cut" him down to size.

Cut off the extra length of the block and cope him.
Here he is, pretty well trimmed.

Time for the Dremel.

He really lacks many features that would take time. However, getting a piece of wood round is tricky... and this guy has four round features!

I'm cautious to "leave" wood for the features on his face that need to be raised.
Now you see what's left is to refine his features and add paint.
... and, here you are...

Would you believe this guy's got brothers?

Wednesday, May 16, 2012

"Mr. Met"

This guy took a little longer time for me. I had to take a trip and it cut into my "carving time." But, I just finished him and he is going home with a friend who is "ga-ga" over the Mets. He should really be happy! He has the plastic bobble head Mr. Met on his desk. Well, Mr. Bobble Head, you've got some competition!
Seeing that "Mr. Met" is over six feet tall in real life, my piece is a little taller also. Interestingly, my "Mr. Met" is just over six inches!
He didn't need very much coping so it was carving most of the way.
Just when you think you've got a piece that will "work up" fast, you don't realize the amount of detail some require.

Once I got him past the "roughing" stage, as they say, "the devil is in the details!"
...and this is what he looks like "dressed".....
This guy turned out to be a really fun character to carve... and kinda cute as well!

Thursday, April 19, 2012

"Baloo"

"Baloo the Bear" was fun to carve. The "roly-poly" shape of this lovable bear fits his character.
Thanks to "Baloo" I found out just how long a cheep band saw blade's teeth keep an edge. The blade dulled up after a handful of pieces. It's time to cough up the $$$ for a quality blade.
However, with perseverance and easing the piece against the blade I was able to complete all  the coping he needed.
This cuddly fellow never gave me any problems
Even though I realized he needed tufts of fur, for some reason I just pressed on and figured I do something later in the carving.

Well, I just kept on working... until I realized I didn't leave any wood for the "fur features!"
Now what?
He needs something on his head and back and maybe just a little something on his elbows.
Let's see, glue chunks of wood on those areas and reduce them. Naw, that didn't work. Hmmmmm,
slices of shaved wood chips? Maybe! He really needs something.
I know, toothpicks! (At least the fur on his head.)

He needs something on he upper back area. Let's try some wood shavings.
For his elbows, I simply reduced the thickness of his forearms.

I like it!

Now for the finishing touch....... color!

Tuesday, April 10, 2012

"Tigger"

Here's my latest piece, "Tigger."
This "happy go lucky" fellow started out on the band saw.
I'll let you know right up front, I coped out a little more than I should have. Notice "Tigger's" tail extending from his left arm? Look between his left knee and left paw...no tail!
That came to haunt me right from the start.
Now I've got to make his tail go straight up his back! Grrrrr!

He works up relatively quickly.
I decide on a the shape of his tail and position it (for strength) against his upper back.
He's looking pretty good, but...
His tail just ain't right! There's something about it. I run him by my wife and she politely tells me he looks more like a monkey. That did it! It's gotta go.
It's time for a little "surgery."

"Off with the tail!"
This time I'm going to make the tail as it is intended.
After some gluing and sanding "Tigger" is back on track.
Even "Tigger" looks happier!
Now to "finish" him off, it's time for some paint...
"Tigger" is the favorite Disney character of a friend who has a special place in his heart and home for him.

"Bouncing is what Tiggers do best."